A very cool tutorial on how to make a "Spartan Wraith" helmet using ordinary tools you likely already have in your garage. Click the video to watch the process.
This sequence of instructional videos provides a near comprehensive lesson on how you can change your voice from that of a male to that of a female. This video series is aimed at aiding transgender individuals, but is also useful for people who want to learn to do really great voice exercises and impersonations.
Star Trek Communicator badges rule. If you're a Trekkie, you know they are iconic to the TV series. The Next Generation, Voyager, and Deep Space Nine all had these awesome communicator badges.
This video has some tips how to make your youtube videos quality better. It is great for someone who has an entry level dslr or a mirrorless camera in their house, but don't have a microphone. I will give you tips on lens settings and a great diy audio tip.
If you need a cloudy background for a photo or video, you can always turn an old aquarium into a DIY cloud tank. But, if you want something more fun and less creepy, these fluffy cloud props by Serena Thompson might be more what you're looking for. It'd even make a good Halloween costume if you tweak it a little.
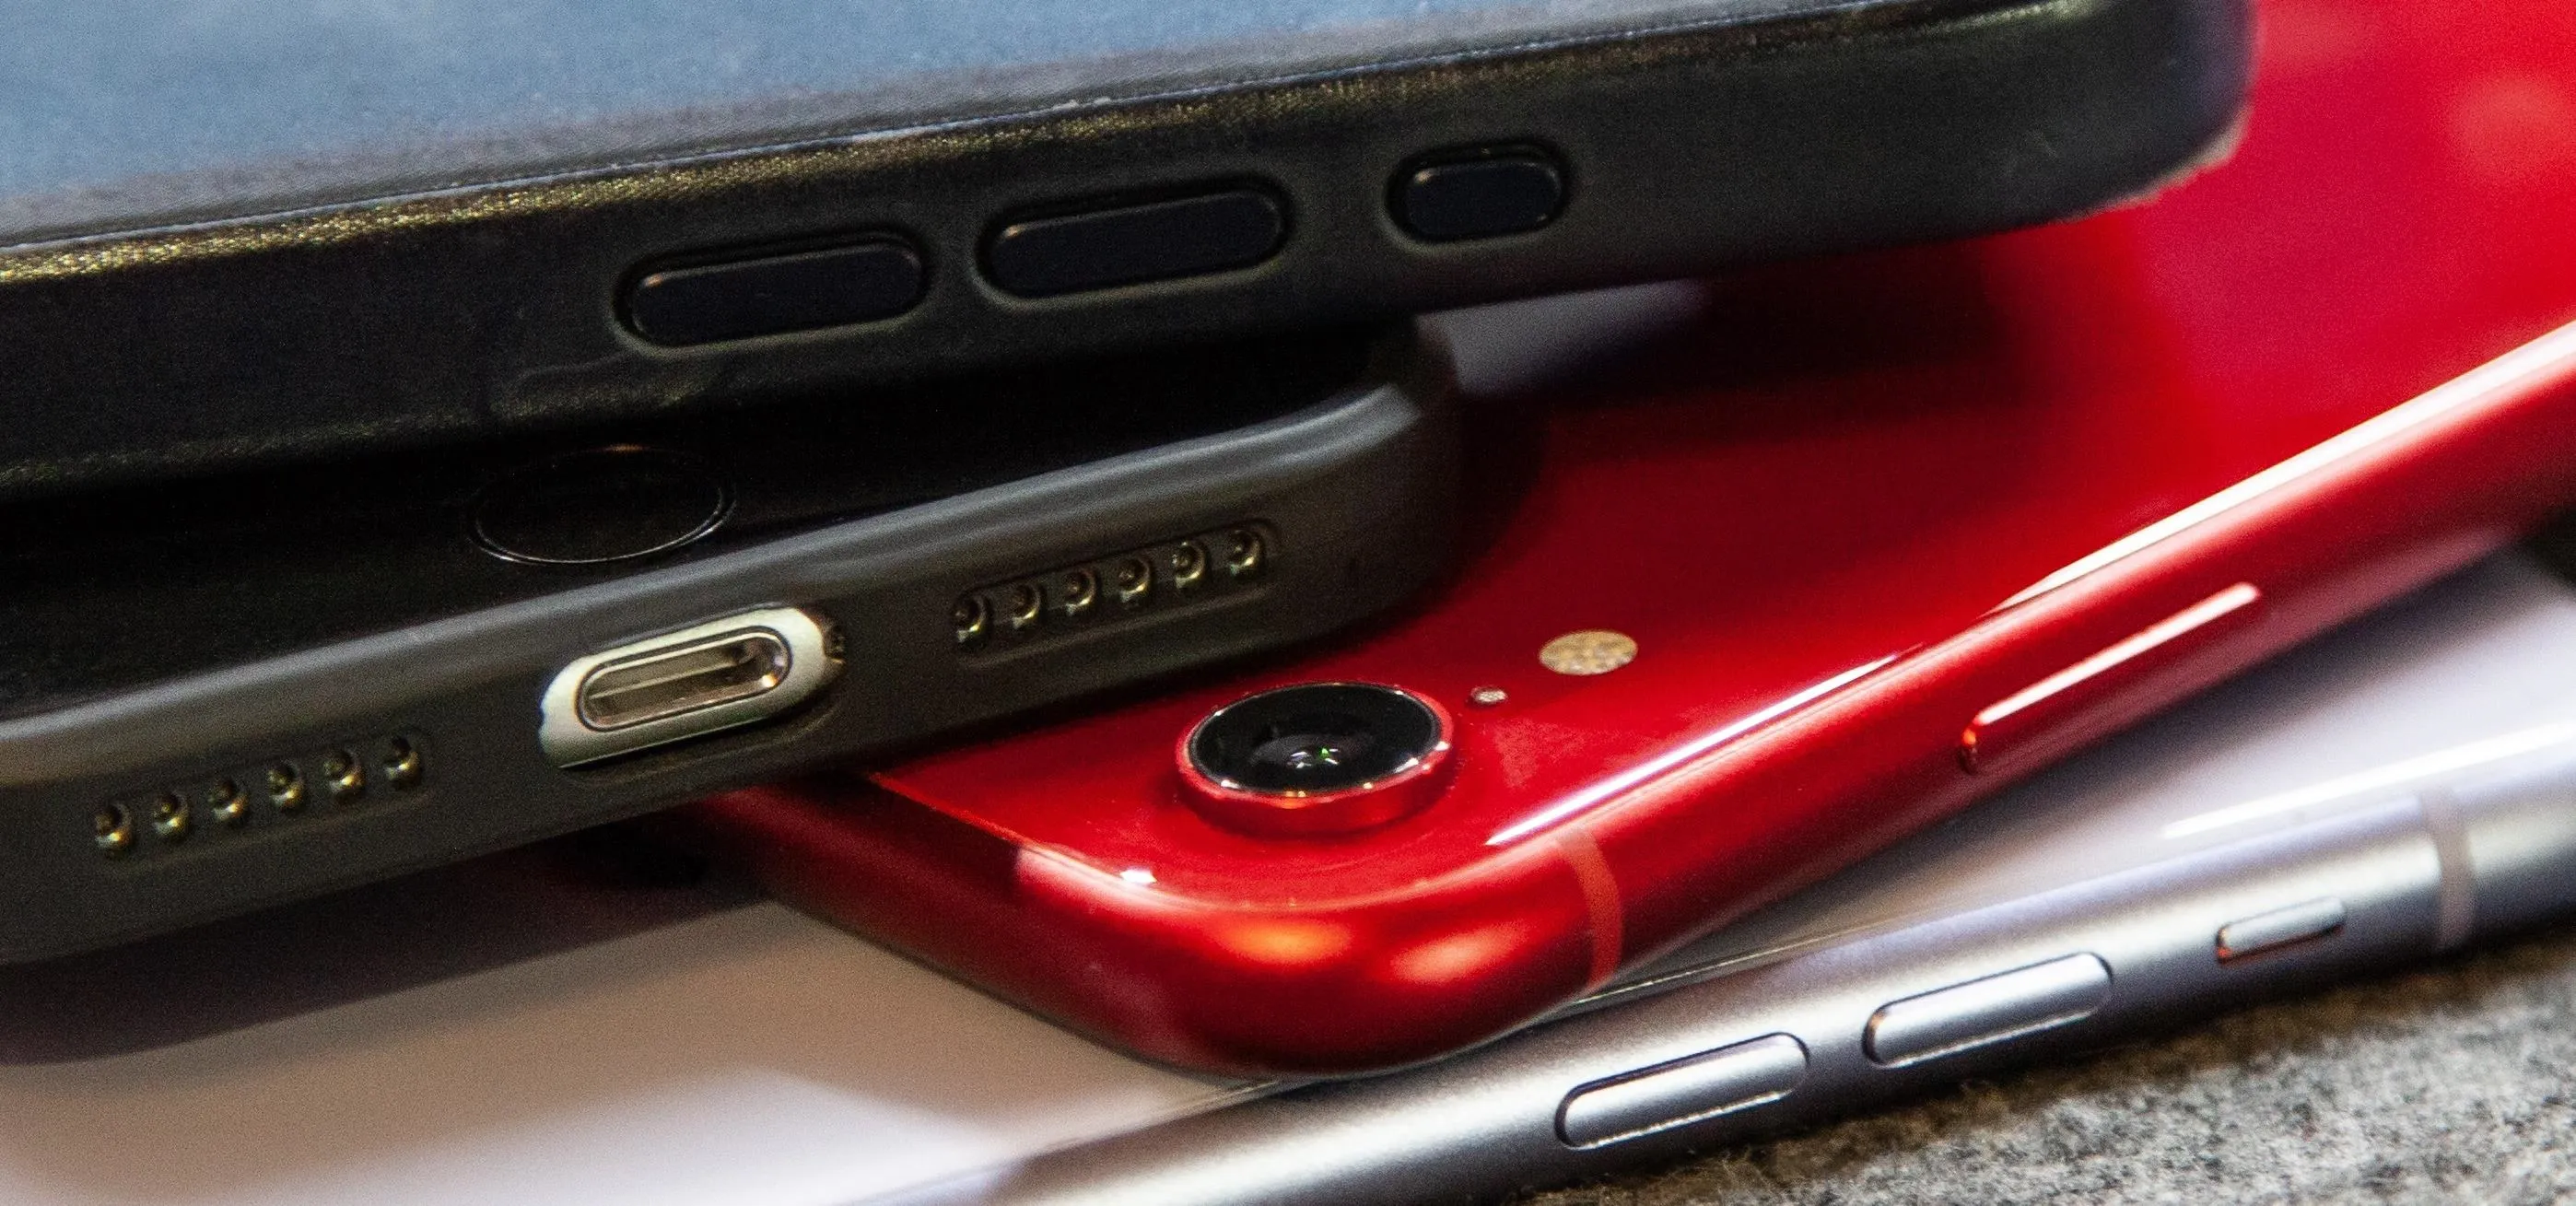
So what is Bokeh? Well, the word comes from the Japanese term "boke" (bo-keh) which means fuzziness. Bokeh describes the character of the blur in an image, but is often used specifically to refer to points of light rendered as fuzzy circles. These "circles of confusion" come from points of light not being perfectly focused. You know when you're taking a picture of your friend at night, and the lights in the background go fuzzy? That's it! Having a beautifully blurred background can help focus...
Here's my latest armor tutorial...what I call the "Demon Hand". The method used in this tutorial can be used to create pretty much any armor. This one is is 18 gauge brass, but if you use stainless steel I suggest 20 or 22 gauge. This is the easiest of all of my gauntlets to create, and it takes a lot less metal. Less than an 8.5" x 11" piece (per hand). Would make cool motorcycle riding gloves!
Check out this video from Chemical Reaction Tutorials (CRTutorials). If you love filmmaking, prop making, editing and everything else that goes along with making movies, then you'll want to see what Adam has to say about teleportation.
Make your underwater dreams come true by turning yourself into a bona fide swimming mermaid. If mermaids did exist, you would be the perfect candidate to transform into the mythical creature. So check out this video tutorial form Little Orca to learn how to make your own mermaid tail costume.
This tutorial by Israel offers some great tips and tricks on how to capture fireworks on video. Two of the key things to remember are to turn off your auto-focus and manually set the gain.
Here's my latest gauntlet, made in 22 gauge stainless steel using ordinary hand tools you probably already have in your garage. I used Iron Man for inspiration, but it's far from an exact replica. Unlike my previous gauntlets, there is minimal riveting, as most of the parts are held to the glove using epoxy, along with some small nuts and bolts. Aside from cutting out all the parts, which is a little tedious, it's actually fairly easy to do. A fun project for anyone into metalworking, prop...
Cinema is a matter of what's in the frame and what's out, according to director Martin Scorsese, who asserted that when describing his life's work. Getting the perfect shot can turn an otherwise ordinary scene into something great, both on and off screen.
This is my first ever clothing haul video and I was so very excited about creating this video for sammydress - you might have heard of this company , who sent me this stuff for review purposes, hence the title "How to Wear the Same Top and Belt in Different Ways and Samydress Haul +Review "
Hello! My latest interest is screenwriting. I would like to share a few hints I find quite useful. I am a newbie, so the following post will not be taken from the treasury of many years of experience. Just plain facts,.. Thanks for reading!
Ever wonder what your brain looks like while you're singing? No? Neither had I, but as this music video for the song "Better Man Than He" by SiVU (aka James Page) will show you, the answer is "pretty cool."
Portal has been one of the most critically acclaimed and universally loved games of the last few years, and there's plenty of fan art to prove it. From building a Portal gun, to a gravity defying Companion Cube, and even installing Portal onto a graphing calculator, fans have found some innovative ways to show their love for the games.
Know a little bit about film lighting, but can't quite grasp the concept of using light meters to measure light for proper exposure? You can't rely on your video camera to accurately capture what you see, so you need light meters to properly and accurately capture what you have created on set.
Filming in low light is not easy, its tricky and challenging, but if you know the proper ways to set your DSLR camera even if you have the most ordinary lenses you can still capture great videos with less noise. So here are some settings and samples in Filming with your DSLR in Low light.
Here's an in-depth video on how to make a functional gauntlet with simple hand tools. You can make it with metal like the video shows, or even just cardboard if it's for a costume.
There are many ways to make a lightsaber. You can turn a flashlight into a steampunk lightsaber, you can make a lightsaber from junk, and you can make one that looks totally real (if you've got the money and time). Heck, you can even make one in Photoshop. And now you can make one using an infographic! Who doesn't like infographics?
What's a proton pack without a ghost trap? Useless, that's what. Don't pay megabucks for some fake Ghostbusters costume when you can build your own with household materials.
Portal, the popular game from Valve, has been critically acclaimed since its release in 2007. Its unique gameplay and humorous storyline is the reason for its popularity amongst nerds everywhere. This has also spawned a large community in cosplay and prop design.
FBI Files is a long documentary which is produced by New Dominion Pictures and was broadcast on Discovery Channel Cable Network. FBI Files considered as a most popular American TV documentary. It was started in 1988 and after 18 years (really very long) in 2006 FBI Files aired declared as final. This episode made by base on true story, during FBI investigation what happened, what was the statement of criminal, how to FBI captured criminal everything is the main theme of this episode. Every...
I have just watched the movie "the woman in black" and as a horror movie fan, i was not impressed. The movie lacked on so many dimensions that i felt like i was just staring at a black and white painting the whole time, and i was not very impressed.
This tutorial is for complete beginners to time-lapse photography and will show you all the settings and equipment you'll need to start taking time-lapse videos with a DSLR camera relatively cheaply. Although this tutorial focuses on the Canon 7D, the steps outlined and equipment discussed also applies to other models available on the market.
As we all know very shoes manufacture make a shoes started with the paper pattern. The cut the leather or cloth according the paper pattern with a Scissor.
Before you can create the shader, you must create an object to test the shader out on so that you will feel comfortable with your results. I have chosen to do the traditional cardboard box for this.
Watch True Blood Season 4 Episode 10 Online - Burning Down The House Alcide requires Sookie in order to the woman's home, exactly where Expenses provides the woman's their bloodstream. Other than conscious, your woman goals regarding getting each Eric as well as Expenses within the woman's existence.
3D video capture isn't just for the Hollywood film makers, but it does take a bit of knowledge to set-up and configure. In this two part video series, the guide provides you with tips and information that will help you learn how to use your 3D camera rig and correctly adjust your parameters.
If you want to put the finishing touches on your new BioShock cosplay outfit, of if you just think it would be awesome to charge at your friends with the favorite weapon of Big Daddys across Rapture, this is a guide for you.
Trying to act out a fight scene with real weapons can be dangerous, so this foam rubber crowbar is the perfect prop for theatre or film. This Backyard FX segment by Indy Mogul will guide you through making your foam weapon. So grab some rubber latex, foam, and a few other tools and start constructing your crowbar.
This guide goes over the basics of 3D video recording and the mechanics behind it before delving into something a little more specific. The host discusses how to build a rig that allows for adjustments to be easily made to the interaxial distance and convergence of the two cameras.
Looking for a way to record what you see from your motorcycle? Check out this video and learn how to mount a 1080p HD camera in a motocross helmet. Capture awesome high quality video of your rides with this 1080p helmet cam mount.
If you're a filmmaker with bigger ideas than your budget, Indy Mogul is here to help with Backyard FX. Learn how to build a camera mount for a car that costs less than 40 dollars. Using suctions cups, you can rig a camera on the front of a car.
Straight from the Little Shop of Horrors to your front lawn! Watch this video to learn how to build a flesh eating plant prop that you can use to give people a good scare, in your next movie or when Halloween rolls around.
How cool would it be to have your own A.S.H.P.D., aka Portal Gun? Find out for yourself. Learn how to build your own Portal Gun, just like the one in the game, from affordable parts by watching this Indy Mogul Backyard FX video guide.
Silent films went out of style just as soon as it became possible to give a film a soundtrack. This Indy Mogul Backyard FX video will show you, for only forty dollars, you can make your own Boom Pole for rigging a mic to capture sound.
Indy Mogul Backyard FX is here with an awesome, cheap, special effect build that will have your audience jumping out of their seats. If you're a filmmaker on a budget you've got to watch this video and learn how to make a hole in the chest effect that look exactly like there is a hole in the actor's chest.
Just because you don't have money to blow doesn't mean you can't blow things up. If you're looking to add a Michael Bay quality explosion to your backyard film project, check out this Indy Mogul Backyard FX video. The total cost of everything you need to make this special effect is less than one hundred dollars.
If you're a filmmaker on a budget and you've got some farce up your sleeve, this video is for you. Watch Indy Mogul's Backyard FX explain how to build a really realistic looking latex pregnancy belly, so that your romantic comedy can grow!
Yar! If swashbucklin adventure be yer fancy, check out this awesome Indy Mogul Backyard FX video to learn how to build a Pirates of the Caribbean style sword prop out of foam. This video explains what materials you need and what tools you'll use.